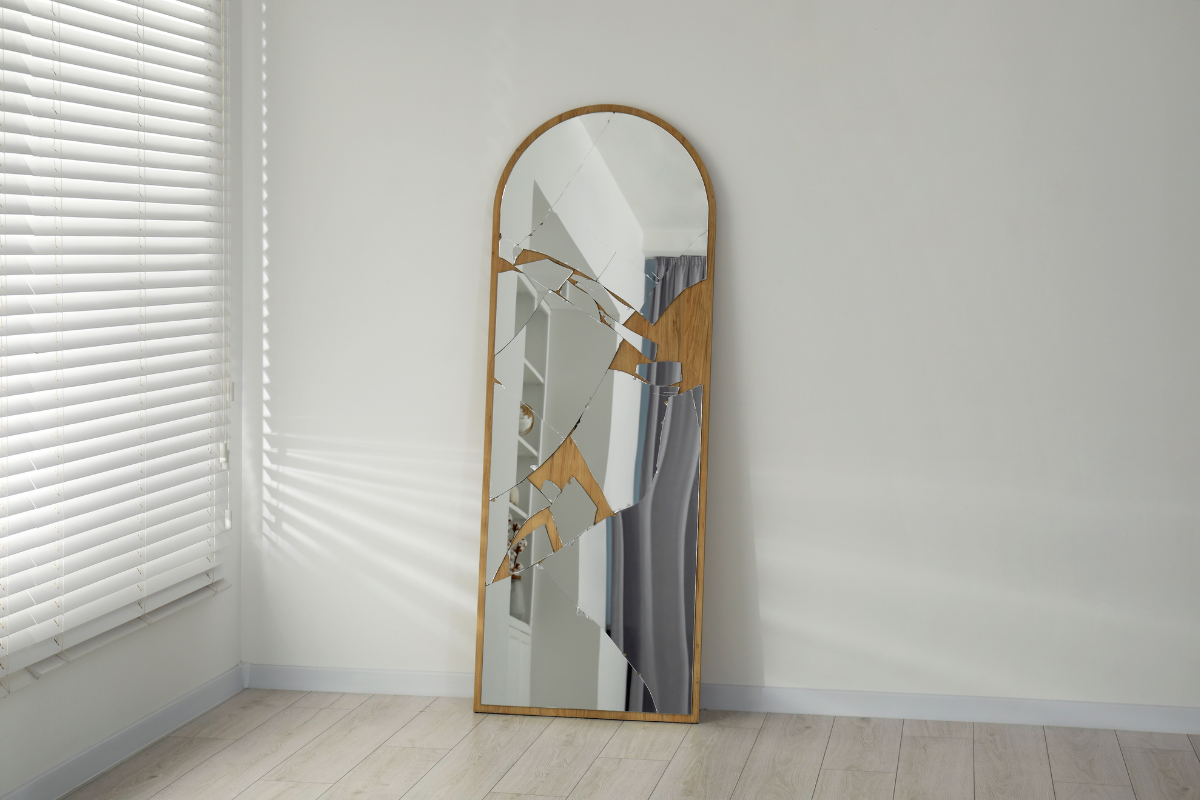
Beyond their conventional function of aiding our grooming routines, mirrors are integral to our daily lives, offering decorative and psychological benefits by adding depth and light to our living spaces. However, it’s not uncommon to run into problems with our mirrors. A tiny crack, an accidental chip, or wear over time can compromise a mirror’s integrity, calling for immediate attention and repair.
Addressing these issues is made easy through the utility of mirror repair kits. But what exactly is a mirror repair kit?
This handy DIY solution includes specific tools and materials, like adhesive and resin, crucial in tackling mirror repair yourself. Far more than just a ‘crack fix,’ these kits extend their application to providing cosmetic improvements such as removing scratches or restoring the reflective coating, often comparable to glass or windshield repair techniques.
Mirror Cracks And Their Common Causes
When approaching mirror repair, understanding the type of damage is paramount for successful restoration. Essentially, the four main types of mirror cracks are:
- Surface Scratches: These are minor surface defects usually caused by harsh cleaning or movement against an uneven surface.
- Impact Damage: This can be a chip or a crack, usually due to accidental impact or a heavy falling object.
- Edge Cracks: Typically, these occur around the mirror’s edges, increasing the risk of chipping and substantial damage.
- Stress Cracks: These form due to fluctuating temperatures or moisture levels, often appearing as a web of thin lines.
Common mirror cracks and roots are manifold; accidents and mismanagement are often to blame. Rough handling during installation or removal, cleaning with abrasive tools or substances, or prolonged exposure to varying temperatures or moisture can make your mirror susceptible to cracks.
Understanding the cause of the crack aids significantly in your repair approach. With the fitting mirror repair kit, equipped with high-quality adhesive and resin, you can mitigate the impact of most trials, ensuring longevity and preserving the aesthetic appeal of your mirror.
Resins And Their Role In Mirror Repair
A critical component of any DIY mirror repair toolkit is the inclusion of resins. But what exactly are resins, and why are they vital for mirror repair? Resins are adhesive substances that bond cracked or broken mirror pieces, secure and restore the reflective surface, and provide a clear, seamless finish. They are essential in repairing damage, including scratches, chips, and cracks.
Not all resins are created equal. In mirror repair kits, you’ll commonly come across two types of resins:
- Epoxy Resin Adhesive: Epoxy resins are highly versatile and can be used across many applications, including automotive windshield repair. These offer impressive strength and durability, making them ideal for repairing cracked mirrors seamlessly.
- Glass Nano Repair Fluid: This resin is specifically designed for glass repair, offering a clear, thin adhesive that fills and bonds cracks, providing a barely noticeable repair result.
Resin is applied by filling the cracked or scratched area, typically via a syringe or similar applicator, and then curing the resin, which hardens and solidifies it. A stabilizer strip or film can ensure the resin fills and adheres to the crack evenly, minimizing air bubbles for a smooth finish. After the resin has cured, any excess can be gently removed using a razor blade or utility knife.
Mirror repair kits are tailored to provide the essential components—like resin, cleaner, and applicators—for a practical DIY repair experience. By carefully following the instructions in a mirror repair kit, you can extend the life of your glass mirrors and save valuable time and resources that might otherwise be spent on professional mirror replacement.
How To Repair A Cracked Mirror With A DIY Repair Kit
Have you recently spotted a crack in your mirror? No alarm — fixing it can be straightforward with a DIY mirror repair kit.
Here’s how you can go about it:
- Preparing the Cracked Mirror for Repair: Clean the mirror’s surface using a soft cloth and a glass cleaner, ensuring it’s free of dust or grime. Concentrate mainly on the cracked area.
- Applying the Adhesive to Fix a Cracked Mirror: You’re ready to apply the adhesive, ideally a high-quality resin from your repair kit. Start by closely using the resin in the crack. A syringe or similar applicator from the repair kit can assist in this process, ensuring the adhesive enters the damage thoroughly. Be careful to prevent any excess resin from spilling onto the mirror surface.
- Curing Process of the Adhesive: Post-application, the resin needs to be cured. It involves hardening the resin, a process expedited by sunlight or UV light exposure. A stabilizer in your repair kit can help attain a smooth and even surface during the curing process. After curing, remove any excess resin from the mirror carefully.
Importance Of The Reflective Component In Mirror Repairs
A mirror’s primary function is to reflect; the reflective component comes into play as much during repairs as in daily use. Let’s understand this crucial aspect before venturing into DIY mirror repairs.
Mirrors comprise a glass surface coated with a thin, metallic reflective layer. The reflective coating is responsible for creating clear, distortion-free images. Damage to this layer can impact the mirror’s performance, making it essential to approach any repair carefully.
How To Repair The Reflective Surface Of Mirrors
Unfortunately, resins and adhesives, integral to glass crack repair, aren’t well-suited for mending a damaged reflective surface. However, specific DIY-friendly techniques can restore the mirror’s appearance and effectiveness:
- Mirror Paint: Specialized mirror paints designed to restore the reflective coating are readily available in hardware stores and online marketplaces. Carefully applying mirror paint to the damaged area can rejuvenate the reflective surface. Remember to clean, prep the surface, and follow the product’s instructions carefully.
- Replacement Mirror: In case of severe damage, consider partial or complete replacement with a new mirror. Consult a professional or use a reliable adhesive kit for rearview mirror adhesion if tackling it as a DIY project.
- Damaged Replacement Mirror: Another alternative is to use a damaged or antique mirror and salvage sections to patch up your existing mirror, adding a unique touch. Exercise caution when handling shards, and use a utility knife to ensure clean cuts.
How To Use Epoxy In Mirror Repairs
Epoxy resin – a magic fixative in countless DIY repairs. Let’s explore why it’s significant in mirror repair kits and how it can be effectively used. Epoxy, a type of adhesive, is celebrated for its strength, durability, and chemical resistance. Composed of resin and hardener, when combined, form a robust material that effectively bonds various surfaces.
In mirror repair kits, epoxy resin is a preferred choice. Its unique characteristics make it an invaluable tool for minor cracks or chips, allowing the reinstatement of your mirror’s functionality.
Applying epoxy resin is a critical step when dealing with a cracked mirror. Begin by ensuring your mirror’s surface is clean to warrant optimal adhesion. Next, carefully blend the epoxy components as per the instructions in your mirror repair kit. After mixing, apply the epoxy directly onto the cracked area using a suitable applicator or syringe in the equipment.
Post-application, the crucial curing process begins. It can be expedited through UV light or sunlight, resulting in a hardened and filled crack. Remember, patience and precision are critical. The result is a mirror effectively repaired, saving on costly glass repair or replacement.
Repairing A Broken Mirror With A DIY Repair Kit
Are you staring at a broken mirror? Allow DIY repair kits to be your redeeming grace!
Steps to Repair a Broken Mirror
- Preparation: Clean the mirror glass surface with a soft cloth and glass cleaner to remove dust and dirt. Always wear safety gear to protect against sharp edges.
- Application: Link in here for a reliable glass repair kit. Apply the adhesive resin from your equipment to the crack using a syringe or applicator. Ensure the resin fills the damage.
- Securing: Apply a stabilizer film to keep the resin in place. Gently smooth it to remove air bubbles, then use clear tape to secure its edges.
- Curing: Allow the resin to cure. It may require exposure to UV light or sunlight, so do follow the instructions provided with your kit.
- Finishing: Once cured, remove the stabilizer film gently with a razor blade. Buff any excess resin with a clean cloth.
Post-Repair Care for a Repaired Broken Mirror
- Cleaning: Regularly gently cleaning with a soft cloth and glass cleaner preserves the mirror’s reflective surface.
- Handling: Broken mirrors are typically susceptible to further damage. Avoid moving the mirror frequently, and handle it with care when necessary.
Leveraging a DIY repair kit to fix a cracked mirror can save time and money.
Painting A Repaired Mirror
A repaired mirror in desperate need of a makeover? Let’s paint it scenic!
When painting a mirror, you’re spoiled with choices, whether acrylic, oil-based, or mirror-specific paints (chrome or reflective). Each type brings its unique appeal and lifespan. Yet, effectively, choose colors with high adhesiveness to the glass surface.
Commence the painting process by cleaning the mirror glass thoroughly. Then, prepare your paint and tools. Use short, light strokes, even layers, and let each layer dry before applying the next. Ensure that your movement is consistent to avoid any streaks. After achieving the desired look, let the paint cure ultimately.
Whether you’ve got a superficial surface scratch or a menacing mirror crack, the kits can fix it all with resin fills.
Take the initiative to repair a mirror today. Old mirror, new adventure!


0 Comments