")

Do you want to add some character to your walls by giving them a unique sand texture? If so, you’re at the right place. Here’s a simple step-by-step guide on how to achieve a sand textured wall like a pro.
Materials You’ll Need:
- Drywall Primer
- Texturing Compound
- Sand
- Paint (Your choice)
- Paint Roller, Brushes, Mixer
- Plastering Trowel and Sponge
- Protective Gear
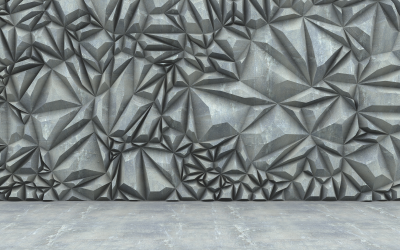
Wall texture enhances visual depth; among different types of textured finish, the subtle charm of a sand-textured wall holds its own unique place. Creating a sand-textured wall blends art and science, balancing texture and smoothness. Starting with a drywall, the initial step is akin to preparing a skim coat.
A sander sands the wall until it’s smooth, setting the stage for texture. Texturing is then skillfully executed using a mix of sand and skim. The paint roller becomes an artist’s brush, dutifully covering up any imperfection, while sandpaper scrapes off and smoothens any grit that overshadows the desired effect.
Everything You Need For A Sand-Textured Wall Explained
Creating a sand-textured wall is an engaging DIY project to modify a smooth wall into a wall teeming with personality. Gather these essential tools and materials to ensure an efficient process:
- Sand – Fine-grained sand is the primary component for achieving the desired texture.
- Paint – Choose a high-quality latex paint that complements your decor.
- Paint Primer – Use a primer to prep the wall for smooth and even application of the sand-paint mixture.
- Mixing Container – A large container helps you combine sand and paint thoroughly.
- Tape and Drop Cloth – Protect floors, electrical outlets, and fixtures before starting the process.
- Paint Stirrer – Utilize a stirrer to consistently mix the sand and paint, preventing clumping or separation.
- Roller and Brushes – To apply the mixture, select a roller for large surfaces and brushes for corners or smaller areas.
- Paint Tray – Use a tray specifically for holding paint and rolling on the sand-paint mixture.
- Ladder – A sturdy ladder allows you to access higher wall sections easily.
- Sandpaper – If required, keep sandpaper on hand to smooth out small bumps or imperfections.
Steps to Remove Texture from Your Walls
Knowing how to remove it effectively is as important as applying a texture. Removing an existing wall texture is a fresh start for creating that sand-textured wall.
- Safety First: Start by protecting your surroundings and yourself from dust. Use a drop cloth to cover your floor and furniture, and wear a dust mask to prevent inhalation.
- Scraping: Proceed by using a scraper to peel off the bulky texture from the wall gently. Take care not to gouge your wall in the process. Remember, every scrape is a step closer to a fresh start.
- Sanding: After scraping, attack the wall with a sander. Using medium-grit sandpaper, sand the wall to diminish the remaining texture and smooth out imperfections.
- Skim Coating: Spread a thin layer of drywall compound across the wall with a drywall knife. Once dried, lightly sand it to achieve a perfectly smooth finish.
Creating The Sand Texture: A Detailed, Step-By-Step Process
Creating a sand-textured wall marries art with home improvement, molding a perfect surface from a smooth wall. Here’s a step-by-step guide to help you through:
1: Prepare The Room
- Remove all furniture and decorative items from the room. If necessary, cover larger pieces with a drop cloth or plastic sheeting.
- Lay a drop cloth on the floor to protect it from spills or drips.
- Use painter’s tape to mask off any baseboards, trim, doors, windows, and electrical outlets.
2: Mix Joint Compound And Sand
- Measure out joint compound and sand according to the desired texture effect. A common ratio is 1 part sand to 1 part joint compound.
- Combine the joint compound and sand in a paint tray or large plastic tub. Mix thoroughly with a paint stir stick or electric drill with a paddle attachment. The consistency should be thick yet spreadable.
3: Apply The Mixture
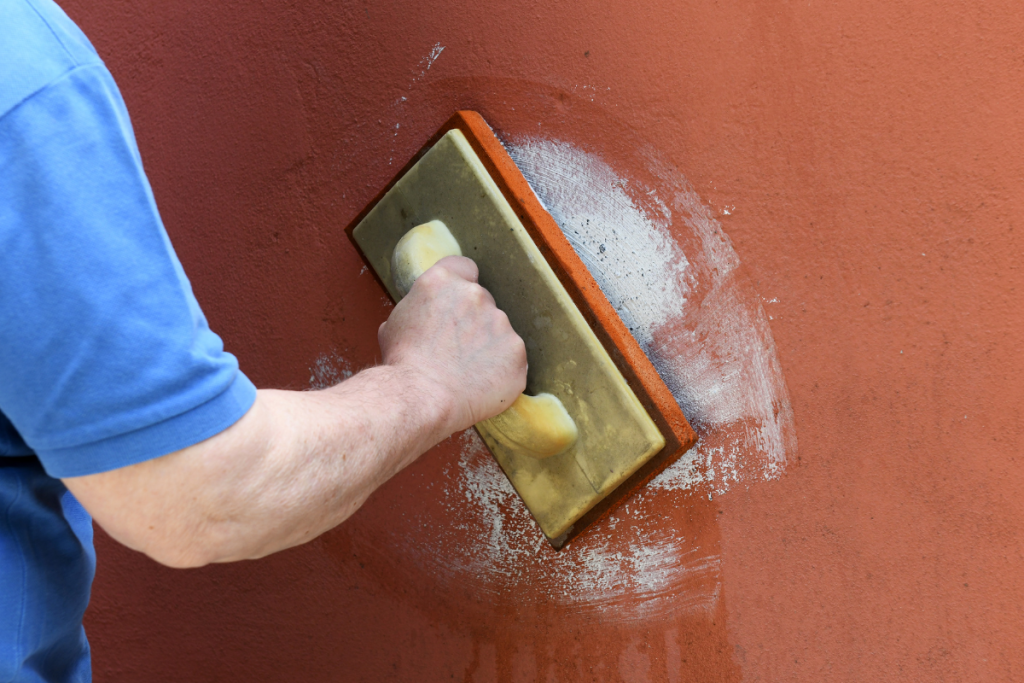
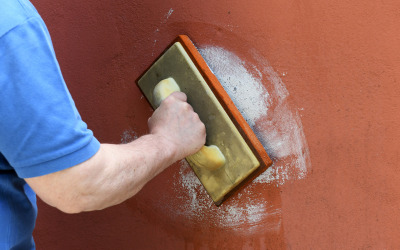
- Wearing protective gloves, scoop up the sand-texture mixture onto a wide trowel or putty knife.
- Holding the trowel at a slight angle, spread the mixture onto the wall in smooth, even strokes. Start at the top of the wall and work your way down.
- Depending on the look you’re going for, you can cover the entire wall or create a more subtle effect by applying the mixture only in specific areas.

4: Add Texture
- Once the wall is covered, use the trowel or putty knife to create a textured pattern by gently dragging or tapping the tool across the wet sand texture mixture.
- Experiment with different techniques and patterns, such as swooping curves, wavy lines, or random crisscross patterns.
- You can use a texture roller to roll over the wet mixture for added texture.
5: Let The Wall Dry & Clean Up
- Allow the wall to dry completely, usually between 24-48 hours, depending on the thickness of the sand-texture mixture.
- Remove any painter’s tape once the wall is dry, and dispose of the drop cloth.
- Clean your tools with warm, soapy water, and store any remaining joint compound and sand for future projects.
Tips To Maintain Your Sand-Textured Wall
Creating a sand-textured wall is artistic; maintaining it in tip-top shape prolongs the reward. With these essential tips, ensure your textured wall stands the test of time.
- Routine Care: Gently dust your textured wall regularly. Avoid rubbing harshly to prevent damaging the texture. Instead, use a soft brush or vacuum with a brush attachment to safely remove dust.
- Quick Fixes: Gently scrape off any loose texture within the damaged area, fill the gap with a joint compound, and achieve a smooth finish with sandpaper. Follow with matching textured paint.
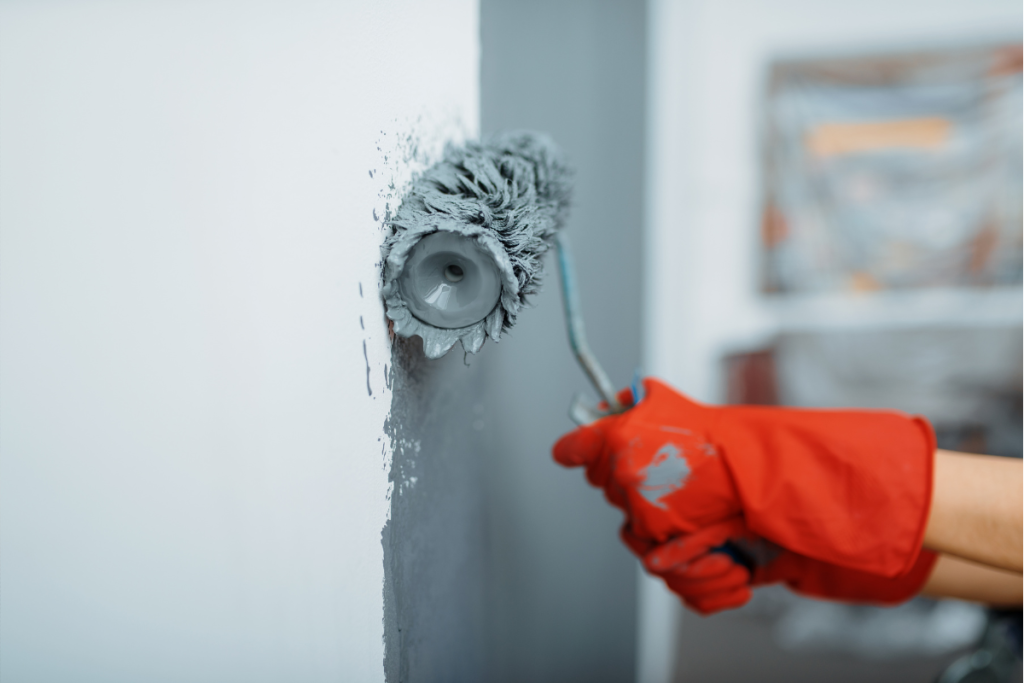
- Repaint: Refresh your wall to maintain its aesthetic appeal. Use a paint roller to ensure the paint spreads evenly without calorie-dense effort. Remember, thick paint acts as a sealant for wall durability.
- Protect: Take precautions to protect your wall during home improvement projects. Use a drop cloth to cover textured finishes from debris and splatters.
Achieving Creativity With Sand-Textured Walls
Creating a sand-textured wall is a personal, creative journey from a smooth finish to a rich profile that embodies your own style. This transformation from an ordinary surface to a unique texture is possible with just a bit of drywall compound applied with a taping knife, sanding, a splash of paint, and your imagination.
You can always repair any unwanted texture to create a perfectly smooth wall or repaint worn-out surfaces to refresh their appearance. All it requires is a bit of joint compound, elbow grease, and patience.
Voila! You now have a stylish sand-textured wall, created by none other than yourself!
In all DIY tasks, remember the key to success lies in patience and attention to detail. If you made a mistake, don’t worry! With a little extra sand, compound, and time, you can always redo a section or start fresh.
Happy DIY-ing!
0 Comments