")

If your home’s painted walls feel a bit flat and you’re yearning for a novel spin, adding wall texture could be the perfect solution you’re seeking.
Formulating unique patterns with texture paint can dramatically shift the look and feel of any room. From orange peel texture to popcorn texture or an abstract design made with a paint roller, nearly endless solutions can enliven your drywall or ceiling. Texturing isn’t merely visual candy; it’s a savvy and straightforward home improvement strategy, enabling you to mask imperfections and add depth and visual interest to your walls and ceilings. This is essential in spaces where the wall surface is less than perfect.
The wall texture of a home plays a pivotal role in enhancing the inhabitants’ experience.In other words, the texture you choose for your walls can impact how you feel in your home.
Ride the wave of wall transformation. Whether creating an orange peel texture with your trusty paint roller, dabbing on a knockdown finish with a sponge, or producing a swirl of interest with a trowel — the choices for adding texture to your walls are abundant. Please stick with us as we unveil them, one exciting texture at a time.
Why Consider Texture Painted Walls?
Have you ever wondered why texture-painted walls are popular? The reasons are both simple and impactful, offering both aesthetic and practical benefits.
Here are the key points outlining why texture-painted walls should be your next choice:
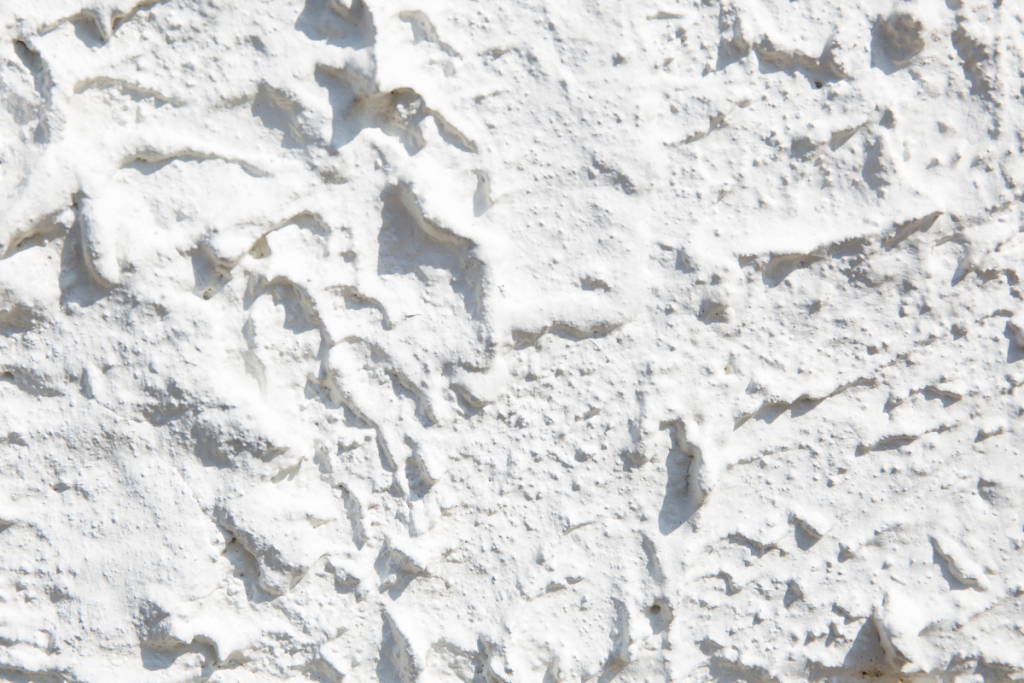
- Aesthetic Appeal: Texture-painted walls significantly enhance the visual appeal of your space. By using texture paint, creating an orange peel texture, or painting a popcorn texture using a paint roller, you give a distinctive touch to your drywall. This allows your walls and ceilings to transform from ordinary to extraordinary, building unique character in your rooms.
- Dynamic Wall Surfaces: Infusing texture creates an engaging wall surface, which ignites visual interest. In this way, texture-painted walls and ceilings become captivating features of a room, rather than simply being backdrop elements.
- Practical Benefits: Texture painting is not just about aesthetics—it also serves practical purposes. If your walls or ceilings have imperfections such as dents, dings, or outdated plaster, a combination of joint compound and a bit of creativity can effectively hide these faults. Usual household items such as a sponge, trowel, or even a putty knife can perform miracles with drywall compound or stucco, efficiently masking minor faults.
Texturing painted walls is a transformative approach for home improvement. It’s a cost-effective manner to hide wall blemishes while artistically adding personality and depth to your living space. These merits of texture painting are worth considering for your next wall makeover project.
5 Unique Techniques For Texturing Painted Walls
Here are five unique techniques for texturing painted walls, along with specific methods to achieve each technique:
1. Brush Strokes and Combing Techniques
- Brush Techniques
- Dry Brush Technique: Apply a small amount of paint to a dry brush for a textured and uneven look.
- Cross-Hatching: Use crisscrossing brush strokes to build up layers and create depth.
- Combing Techniques
- Vertical Combing: Drag a comb vertically through wet paint for a structured finish.
- Diamond Pattern Combing: Create a diamond pattern with the comb for a unique, polished look.
2. Sponging Techniques
- Natural Sponge Techniques
- Random Dabbing: Dab the sponge randomly to create an irregular and natural effect.
- Layering Colors: Apply multiple layers of paint with the sponge for added depth.
- Synthetic Sponge Techniques
- Pouncing Technique: Tap the synthetic sponge on the wall for controlled and consistent texture.
- Combination with Other Techniques: Combine synthetic sponge application with other methods for a customized texture.
3. Metallic Finishes
- Metallic Paint Techniques
- Choosing the Right Metallic Shade: Select metallic paint that complements the room’s theme.
- Smooth Application: Apply metallic paint evenly for a polished finish.
- Combining Metallic and Traditional Paint Techniques
- Accentuating Features: Strategically use metallic finishes to highlight specific areas or features.
- Layering Techniques: Experiment with layering metallic and traditional paints for a unique look.
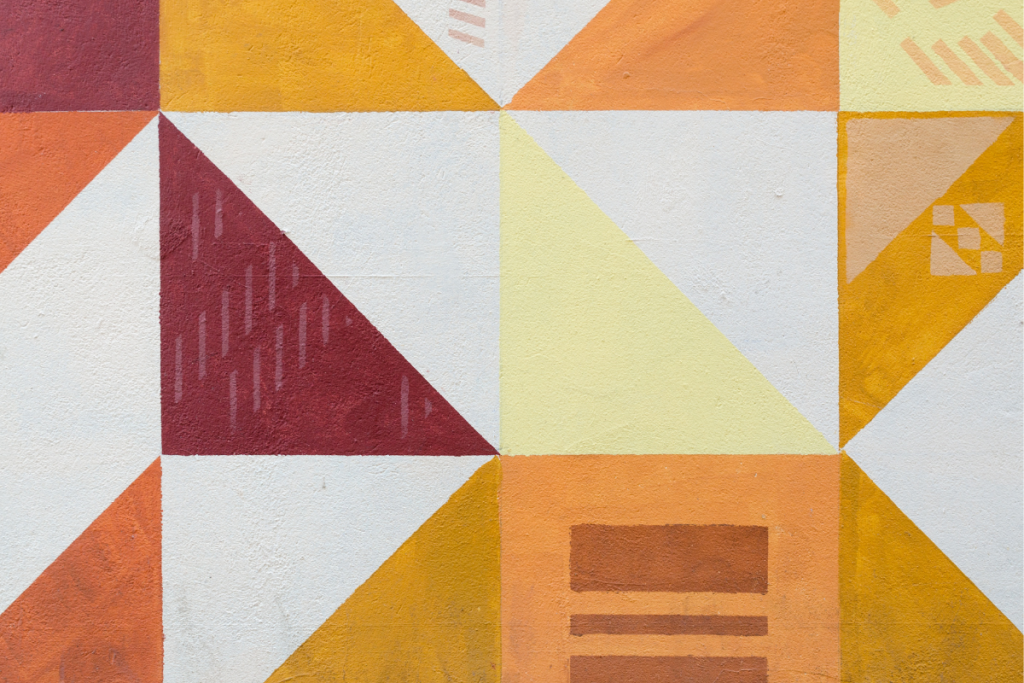
4. Geometric Patterns
- Stencils Techniques
- Choosing Stencil Designs: Select stencils that align with the desired geometric pattern.
- Color Contrasts: Experiment with different paint colors to enhance the stencil pattern’s visual impact.
- Texture Painting Techniques
- Freehand Painting: Create geometric shapes freehand for an organic and artistic feel.
- Tape Method: Use painter’s tape to achieve clean and precise lines for geometric shapes.
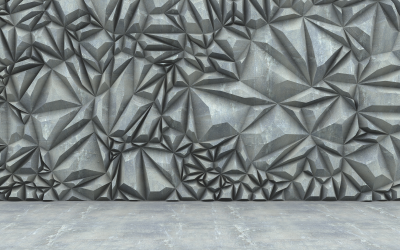
5. Faux Stone Finishes
- Paint Technique to Mimic Stone
- Layering Colors: Apply multiple layers of paint in varying shades to mimic the depth of natural stone.
- Sponging or Ragging: Use sponging or ragging techniques to replicate the texture of stone.
- Advanced techniques
- Veining Effects: Add veining or marbling effects to mimic natural stone patterns.
- Highlighting and Shadowing: Use lighter and darker shades to create depth and dimension in the faux stone effect.
Each of these techniques offers diverse options for individuals looking to texture their painted walls, contributing to a unique and visually stunning result.
Essential Tools For Achieving The Perfect Wall Texture
Ready to transform your walls into beautiful, textured masterpieces? Let’s examine the crucial tools required for texturing a wall:
- Roller Cover: Essential for creating famous wall or knockdown textures.
- Usage: Apply texture to the entire wall using the roller to achieve a simplistic yet captivating texture.
- Sponge: A versatile tool that can greatly diversify wall texture.
- Usage: Soak a sponge in paint and apply it to the wall for a unique texture. Unleash your creativity with sponge painting for wonderful results.
- Texture Sprayer: It’s a must-have tool for mastering drywall texture.
- Usage: The texture sprayer evenly distributes texture additives onto your wall, resulting in a trendy splattered texture loved by designers.
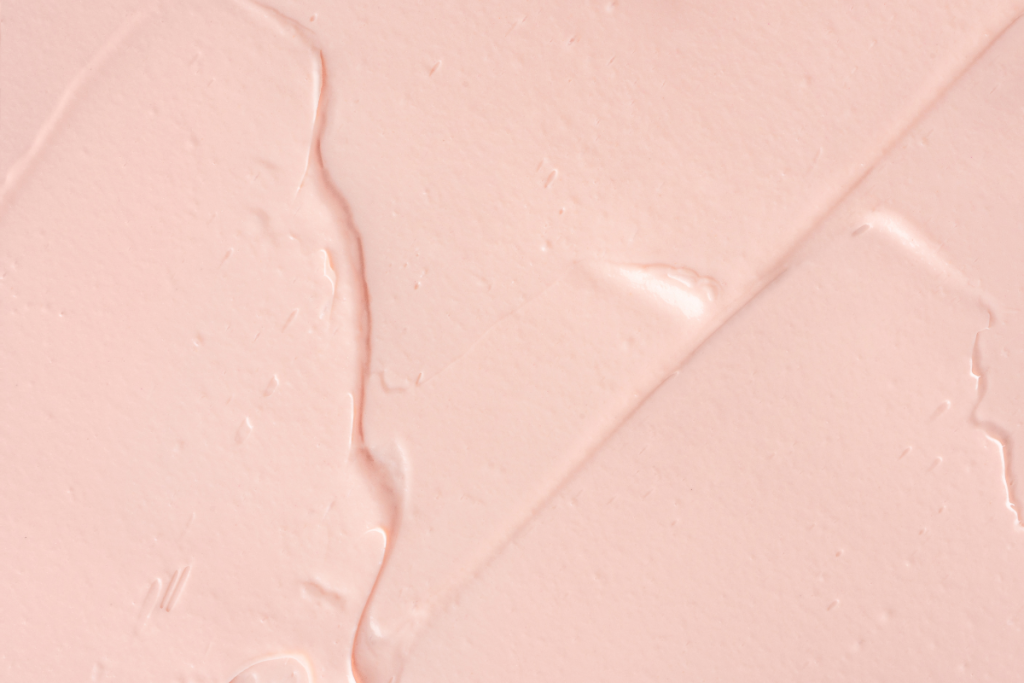
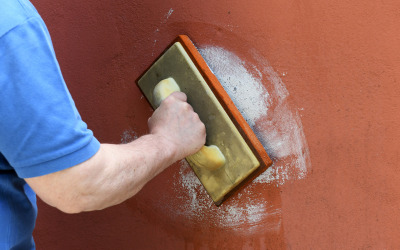
- Plaster: An underrated tool that can create distinct textures.
- Usage: With the right technique, plaster can mimic high-end finishes like Venetian plaster and faux stone—perfect for crafting captivating accent walls.
Preparing, painting, and experimenting with these fantastic tools can help you create beautifully textured painted walls. Whether you prefer to roll, sponge, spray, or plaster, your ideal wall texture is within reach.
Avoiding Mistakes When Texturing Painted Walls
Excited about texturing your painted walls? It’s indeed an exciting journey, but can present a few challenges. Let’s address the common mistakes that could occur and offer solutions to avoid them:
- Joint Compound Consistency:
- Issue: Using joint compound that’s too dry or diluted could lead to a short-lived textured wall.
- Solution: Ensure to mix the drywall compound optimally with water, achieving the correct consistency to prevent this mistake.
- Use of a Paint Roller:
- Issue: A typical struggle when using a paint roller to add texture is ending up with an uneven finish.
- Solution: To avoid this, roll uniformly across the wall surface. Ensure each stroke overlaps the previous one to ensure even application of texture.
- Texture Sprayer Problems:
- Issue: Texture sprayers may sometimes clog, often due to excessively thick paint. This can cause splatters and drips.
- Solution: Adding a required amount of water to your paint can simplify the process, thereby reducing the chances of clogging.
- Plaster Textures Drying Time:
- Issue: Those attracted to plaster textures like stucco or swirl might face the issue of their wall texture cracking, often due to insufficient drying time.
- Solution: Ensure to allow the plaster to dry thoroughly before intervening, to prevent structural weakness and potential cracking.
Being aware of these possible pitfalls can help in the process of creating a beautiful textured wall from your painted ones, saving you from common hiccups!
Your Guide To Stunning Wall Textures
As we end our exploratory voyage into texturing painted walls, let’s reiterate why a good wall texture is paramount. You add personality and depth to your interiors by choosing to texture a wall.
From popular knockdown texture achieved via a wall with a roller to the sophisticated Venetian plaster, there are countless types of wall textures you can experiment with. Creativity can bloom on your walls if you soak a sponge for a unique finish, apply a texture sprayer for drywall texture, or use textured paint.
Looking for a simple refresh? Consider a slap brush texture. Feel like going all out? Venture into the art of faux finish. Remember, practice and patience are your best allies here. From prime and paint to let the texture dry — ensure every step is given due time.
Conclusively, texturing painted walls isn’t a task designed specifically for one skill set; it’s an adventure everyone can embark on. With your roller cover, thick-nap or otherwise, and your designed wall texture in mind, let’s color your world with stunning wall textures. It’s time to create your masterpiece!
0 Comments